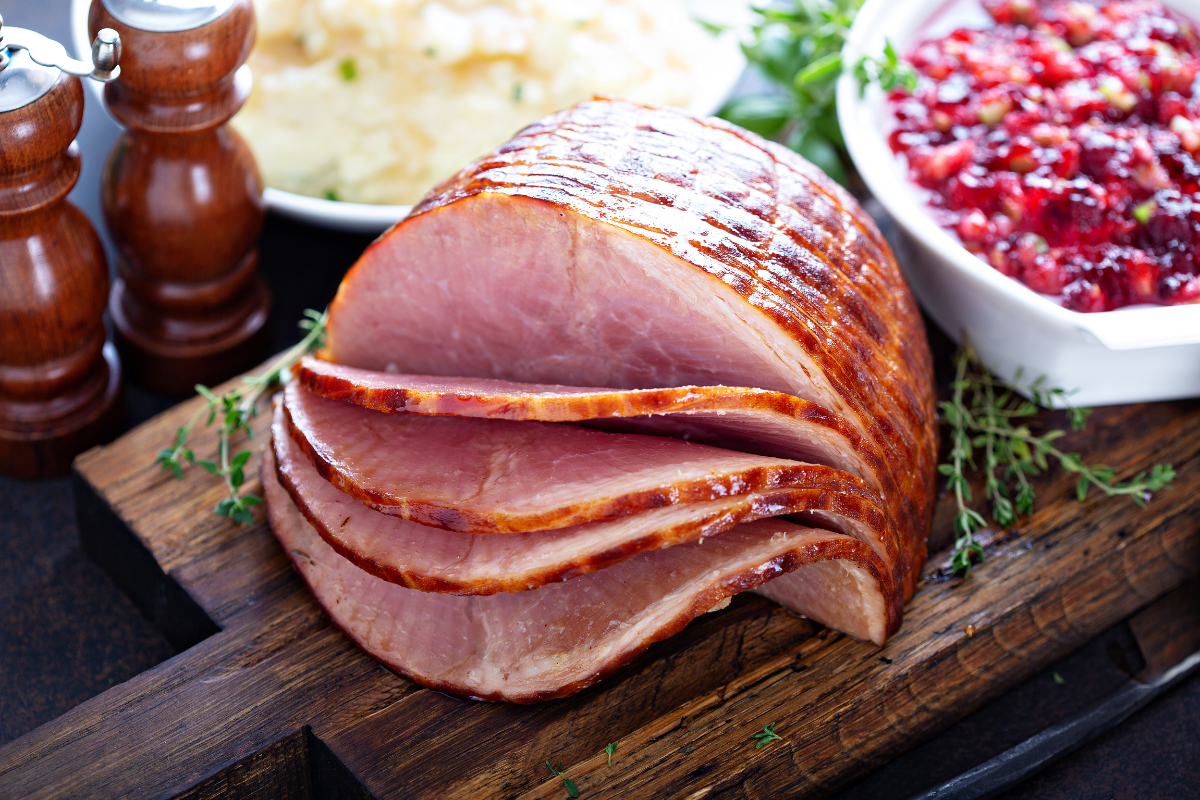
While turkey continues to be the favored holiday dinner protein, many Americans also choose ham as their main dish. In fact, around 318 million pounds of ham was eaten for Christmas in 2022. These days, ham is more expensive than many other meats, thanks to rising labor and food production costs. You may be looking to offset your pricey porcine with a few easy and pocket-friendly accompaniments. We’ve got you covered. Here are a few ideas for easy side dishes for ham that are fast, cheap, but still delicious.
Quick Side Dishes for Ham Dinner
Brazilian Cheese Bread

First on the list of our easy side dishes for ham: Brazilian cheese bread. Instead of the traditional yeast roll, why not try your hand at some gooey, cheesy pao de queijo? Made from tapioca starch, these bite-sized morsels are nutty, chewy, and absolutely addictive. Bonus: they are completely gluten free and made with ingredients you likely already have on hand (aside from the tapioca flour). Try stuffing them with sausage if you really want to wow your guests.
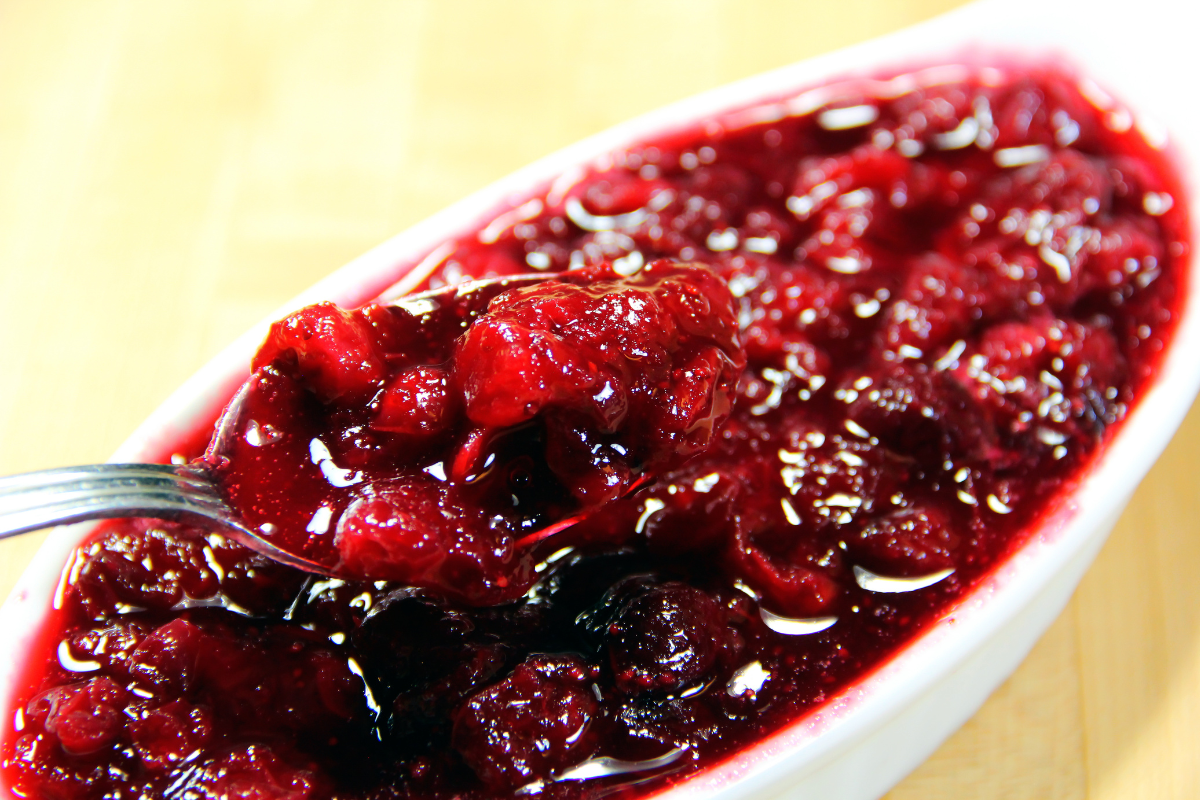
Spicy Cranberry Sauce
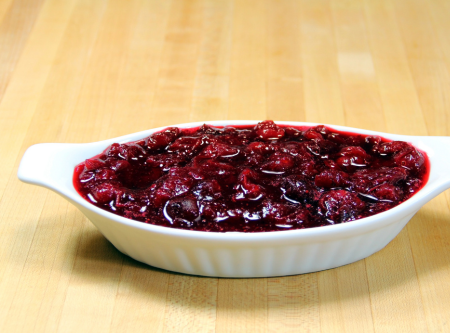
Our recipe for boozy cranberry sauce with a little heat revs up this traditional holiday favorite. We use vanilla, cinnamon, clove, and a big pinch of cayenne pepper to cut through the sweetness of the dish, adding a healthy splash of aged cachaca for even more flavor. The cachaca is by far the priciest part of this recipe; you can replace it with water or a little rum, if you already have that on hand.
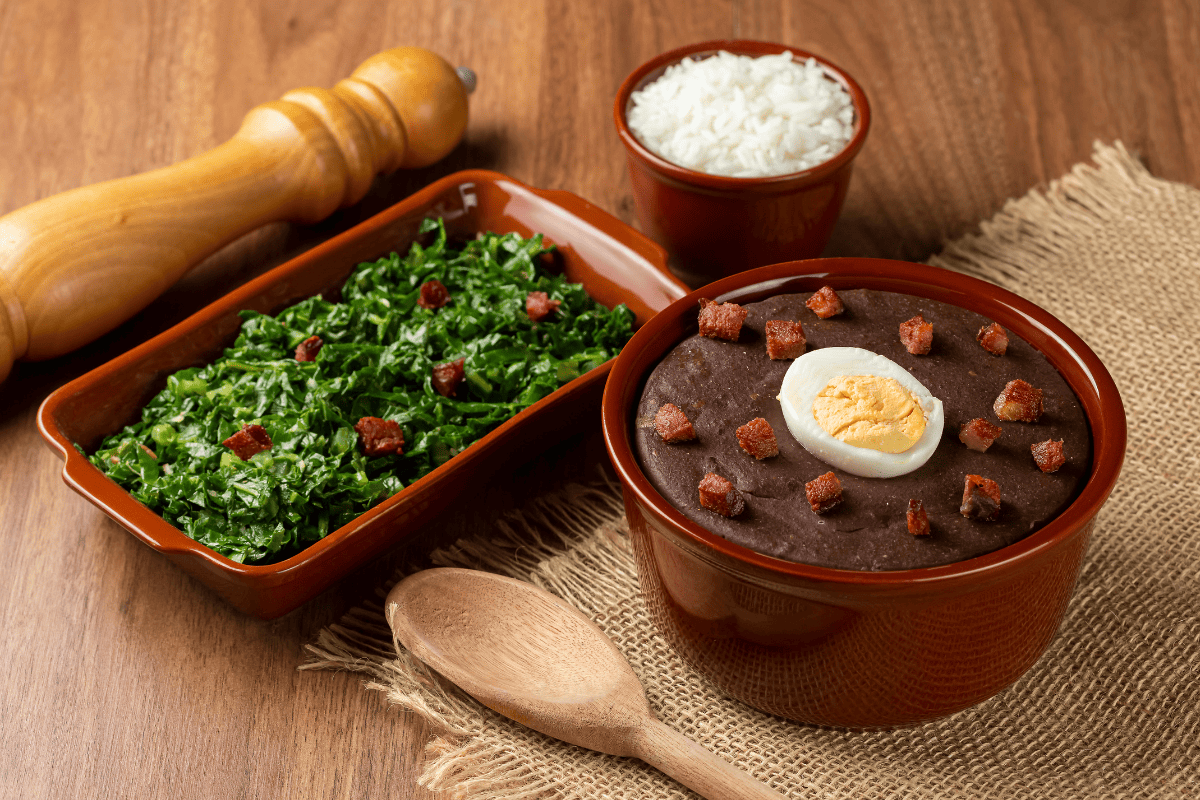
Couve Mineira (Brazilian Collard Greens)
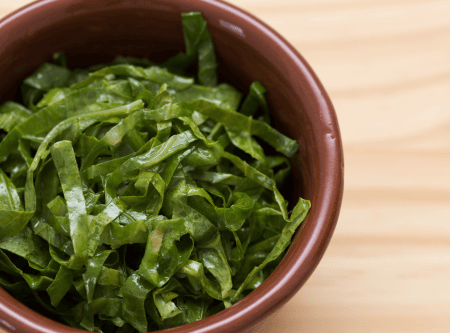
You may not think of collard greens when you are in the market for “easy” ham side dishes. That is because traditional Southern recipes often take hours to stew the greens until they are tender. Brazilian collards cook up quickly since they are sliced into uber-thin strips and sauteed in oil. Add a little garlic, onion, and bacon, and you have a delicious accompaniment for your holiday ham.
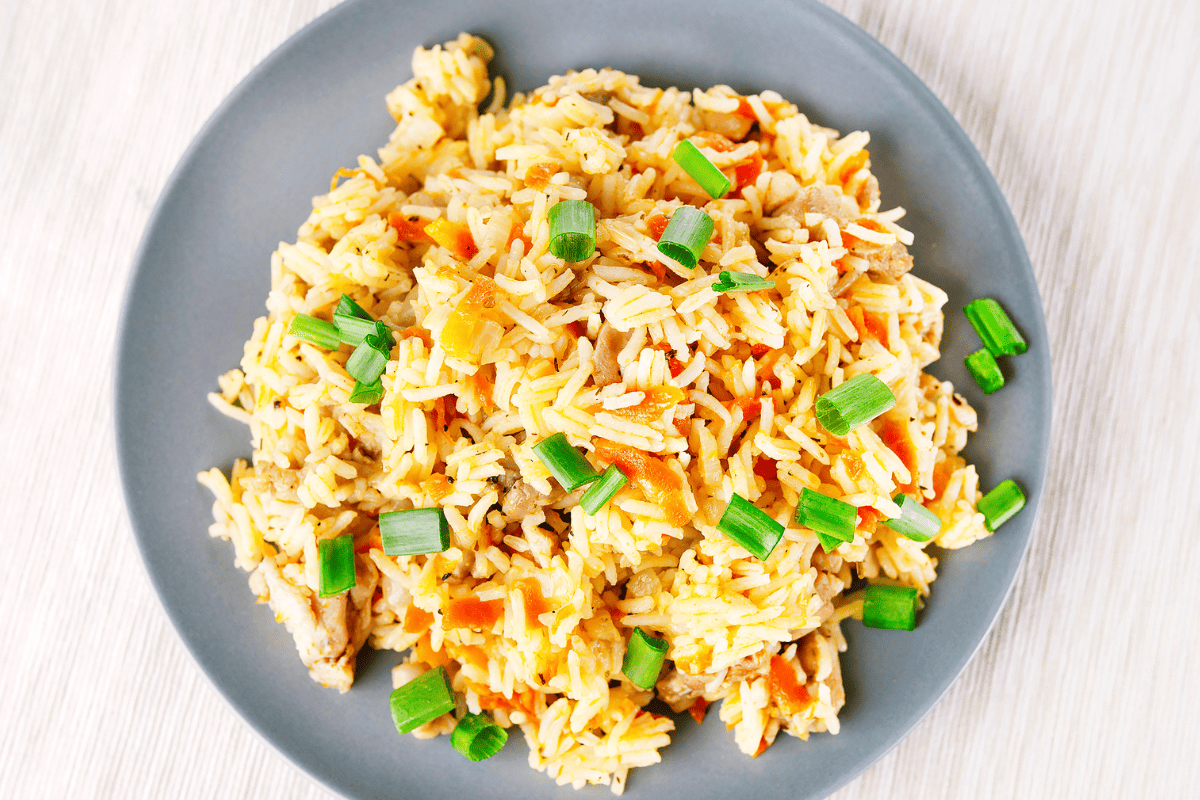
Brazilian Rice

Next up on our list of easy side dishes for ham: rice. No holiday meal in Brazil (or any meal, really) is complete without the ubiquitous arroz Brasileiro: basmati rice toasted in oil then slow-simmered with refogado, a puree of garlic and onions. If you don’t have the refogado mix, don’t worry about it: finely minced garlic and onions will work just as well. The only thing left is olive oil and white rice–doesn’t get much cheaper than that!
Steakhouse Garlic Mashed Potatoes

If you’d rather stick with potatoes for your starch fix, we totally understand. Mashed potatoes are a classic and easy side dish for ham for a reason: they are inexpensive, filling, and so delicious. They are basically comfort food at its finest. You simply can’t go wrong by punching up the flavor with a little (or a lot) of garlic, like we do in our steakhouse inspired mashed potato recipe.
Burgundy Mushrooms
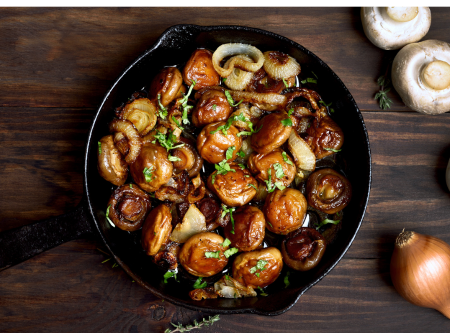
Here’s another cheap and easy side dish for ham this holiday. Our take on Burgundy mushrooms slowly simmers them in red wine, stock, garlic, Dijon mustard, and fresh herbs. The sauce alone is delicious, especially spooned over those garlic mashed potatoes we mentioned.
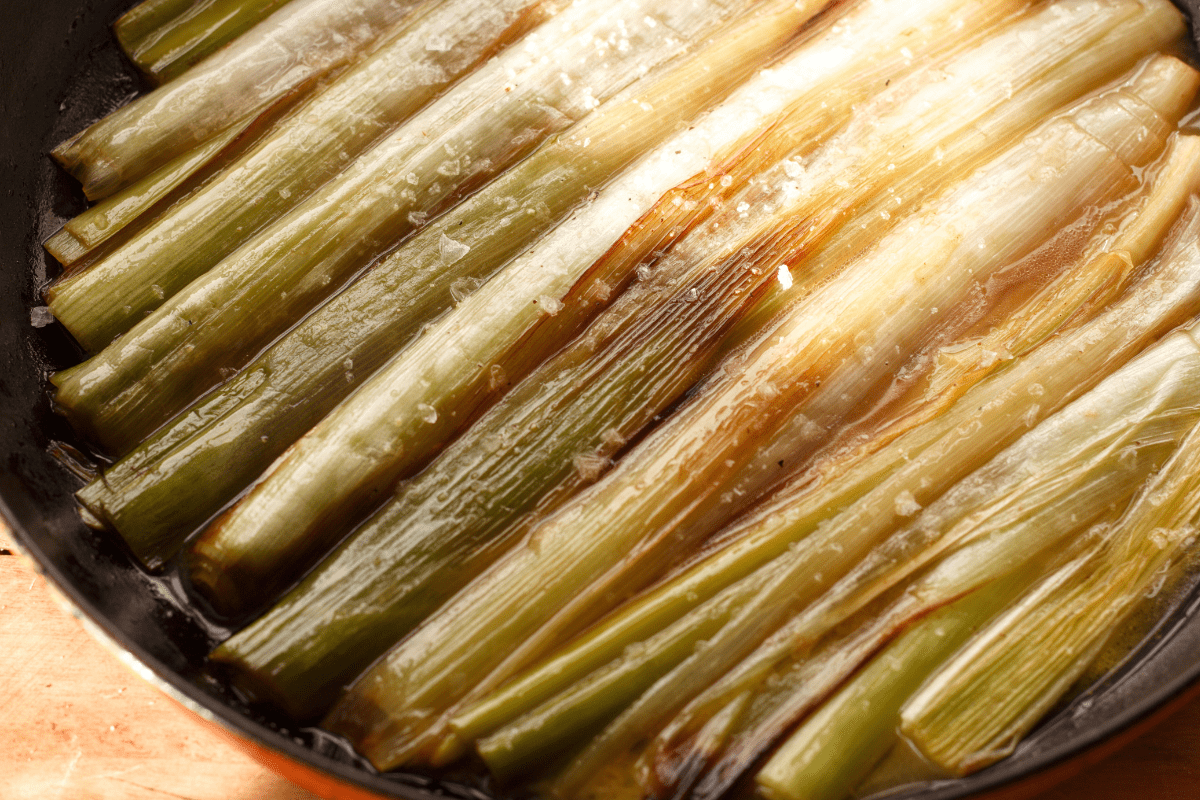
Caramelized Leeks
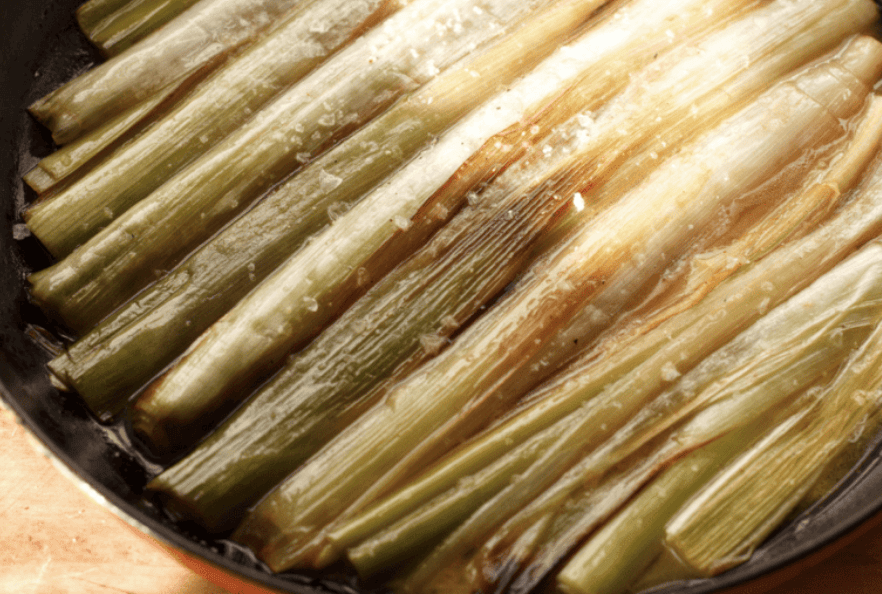
Leeks don’t often make it to the holiday table as a stand-alone side dish, and we think that’s rather tragic. When prepared with the right ingredients, they become buttery, caramelized, and absolutely delicious. In our braised leeks recipe, we take the sweetness up a notch with a balsamic reduction. Heap some on top of your slice of ham so you can have some with every bite.
Christmas Dinner Catered
If all else fails, you can always host the perfect holiday meal with Texas de Brazil’s takeout options. Right now, you can pre-order our Beef Ribs Holiday Feast: fall-of-the-bone ribs served with your choice of two side dishes, a mess of Brazilian cheese bread, and zesty chimichurri sauce for dipping. The kit feeds 6-8 people and comes hot and ready to eat. Order yours for pick up on 12/24, 12/25, and 12/31 between the hours of 1pm and 5pm.