
The Science and Secrets of Brazilian Pão de Queijo
In any culture around the world where there are both bread and cheese, it’s inevitable that someone will combine them into the incredible culinary delight that is cheese bread. Brazil is no different, and our Brazilian cheesy bread (known in Brazilian Portuguese as pao de queijo) is an absolute treat.
What makes the Brazilian twist on cheese bread so special? Is there a science behind it? Let’s dig in. Be warned, though: by the end of this post, there’s a pretty good chance you’re going to want to try it yourself. If you can’t get the ingredients to make it yourself, find your nearest Texas de Brazil location; we always have it on hand.
Table of Contents
Starting Simple: What is Pão de Queijo?
Let’s start at the basics: what even is this Brazilian cheese bread?
Put simply, it’s just a small cheesy roll made with the local grain flour, cassava/tapioca flour. It’s always served in the form of small rolls, laced with cheese and baked to delicious perfection. When you describe it as simply as that, it really doesn’t seem like anything special.
The Key Elements of Brazilian Cheese Bread
So, what is it? What makes Brazilian cheese bread so special?
The Form Factor
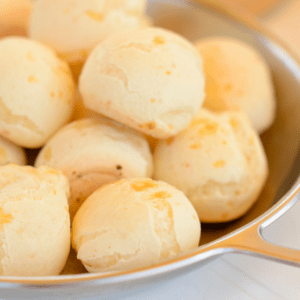
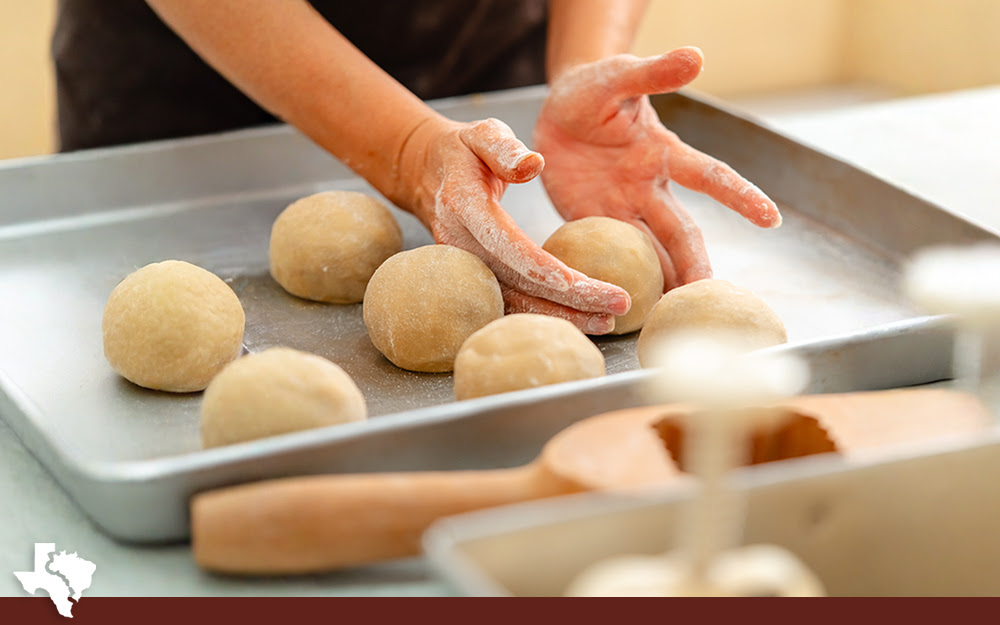
Brazilian cheese bread is more like a roll than a loaf. It’s made by making a large batch of dough, then dividing that dough into small balls. They actually come in many sizes, from the tiniest 15-gram coquetel (or cocktail size), the 20-30-gram tradicional, the 70-gram lance grande (or “big snack” size), or the enormous 100-gram rolls.
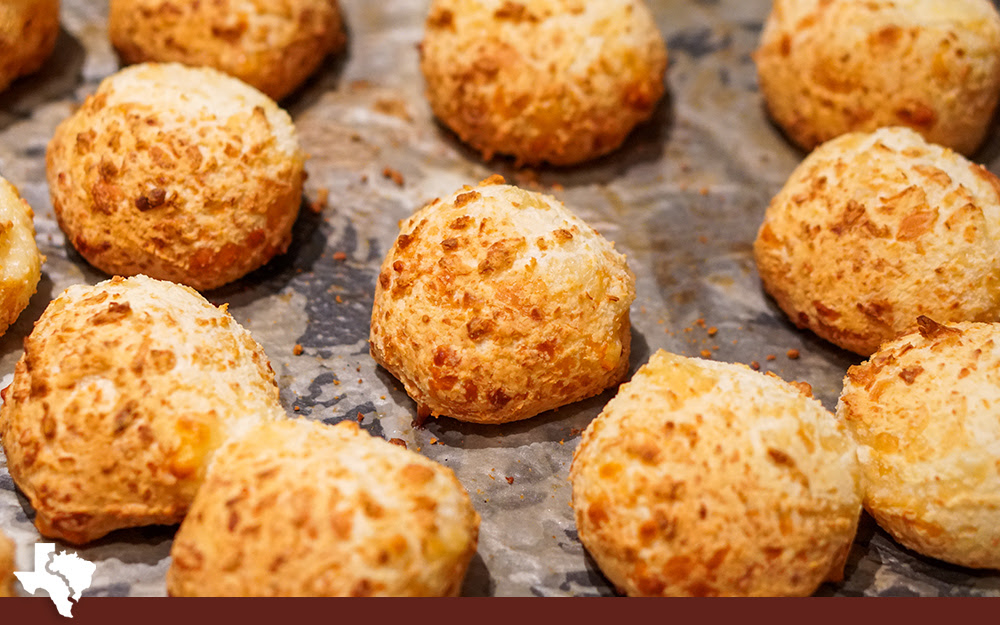
What you never find, though, is a whole loaf of pao de queijo. That’s because a big part of what makes them what they are is the crisp outside compared to the soft and chewy inside, and you don’t get that contrast in a loaf the same way.
The Flour
Brazil is not a land full of wheat, especially not when pao de queijo was invented in the 18th century. Back then, importing wheat was rare and expensive, so local cooks in Brazil had to find an alternative.
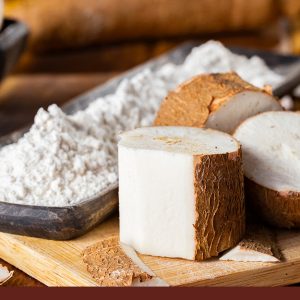
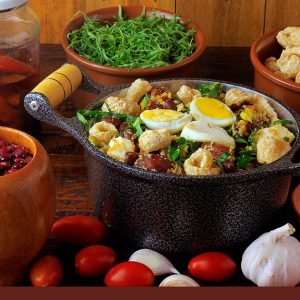
In Brazil, one of the main staples is the cassava root. Cassava is a tuber that grows underground, sort of like a potato, and it has a million different uses. It’s a key part of farofa, it’s made into alcohol, and the starch is ground into a flour.
The real trick is, there’s more than one kind of cassava flour (also known as tapioca flour or tapioca starch). Pao de queijo can be made with either one or, for the most robust recipe, a bit of both.
- Povilho Doce. This is the “default” kind of cassava flour, and translates as “sweet cassava starch.” It’s sweet because it’s harvested, dried, and processed immediately. This flour is neutral-tasting with a hint of sweetness and creates a soft, fluffy bread with a tender bite.
- Povilho Azedo. This translates to “sour cassava starch” and is a key part of what makes pao de queijo so special. This form of cassava starch is harvested, but then lightly fermented before it’s dried out. This gives the flour a unique tang, the same sort of fermented tang you would recognize in vinegar. It’s also more elastic as a flour, and gives bread a stretchy, chewy texture.
The combination of these two flours gives pao de queijo a unique texture, a hint of sourness to the sweetness backing the cheese, and a contrasting texture between the crisp exterior and chewy interior that is absolutely divine.
The Cheese
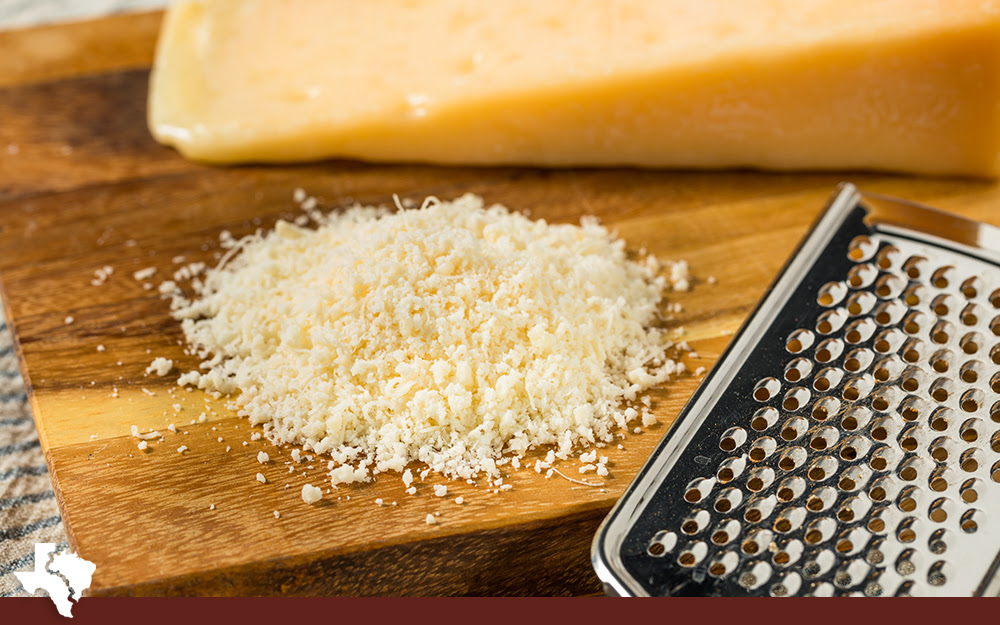
The cheese used for Brazilian pao de queijo is usually a two-part mixture. One is going to be familiar to you: Parmesan, that staple of cheese-based baking. A hard white cheese, Parmesan adds a nuttiness, a sharpness, and a robust flavor to the bread.
The other cheese can vary. The goal is to have a half-cured cheese. Half-cured cheeses are generally white cheeses on the softer side, aged somewhere between 30 and 100 days. They’re not too soft, but not too hard either, and they have a delicate taste with a hint of complexity that comes from the age.
Common cheese choices are:
- Minas Cheese. The Brazilian favorite, Minas cheese, is a cow’s milk cheese that can be found in fresh, half-cured, and full-aged varieties. It has a relatively delicate flavor but with a hint of pungent cheesiness and some saltiness.
- Canastra Cheese. This is another Brazilian-native cheese, similar in many ways to Minas cheese, but with a slightly different flavor profile, and is limited to just a few small areas of production.
- Mozzarella. A slightly aged mozzarella that can be considered half-cured is an ideal substitute for Minas cheese if you can’t find it. Most American recipes are going to use this cheese since it’s so readily available.
There are also other half-cured cheeses you can consider, like Manchego, Fontina, or Provolone. Any relatively mild, half-cured, white cheese is going to be great, but the most authentic version uses Minas cheese.
The Science of Pão de Queijo
We promised science, so let’s talk science.
In the bread you’re used to, the structure comes from one particular aspect of wheat flour: gluten. Gluten is also present in rye and barley, and thus is common in European breads in particular.
Gluten is a complex of proteins that, when mixed with water, are activated. Activated gluten becomes stretchy, and the more you work it, the stretchier and more elastic it gets. That’s what kneading is for: to work the gluten to get the right texture for a loaf of bread.
Well, cassava flour doesn’t have gluten in it. It’s also an unleavened bread! The fluffy structure comes solely from the process, not a chemical reaction along the way.
Note: This makes pao de queijo a gluten-free bread you can enjoy!
Gluten is an important agent for structure in bread, but if it’s missing, how does pao de queijo gain that structure? The secret is a process called gelatinization.
In this case, much like gluten, the process is kick-started with water, but it needs one more ingredient: heat. Heat and water, mixed with cassava starch, cause a reaction. The molecules of starch absorb the water and swell up, and as they absorb more and more water, they eventually burst. But, since it’s a starchy liquid, it’s still very thick and viscous, so you end up with something like a gel.
This gel mixes very well with the proteins from egg and the fats and proteins from the cheeses mixed in, as well as ingredients like oil. All of it together forms a wonderful whole, and baking it brings it to perfection.
This gelatinization process is key for making pao de queijo, and it’s where home bakers are likely to get it wrong in their first attempts.
See, the first step to making pao de queijo is to take the liquid ingredients (water, milk, and oil, generally), and boil them. Once they’re nice and hot, you pour this liquid into the starches and start mixing. The heat activates the starches, and the liquid is readily absorbed. When you get the temperature and proportions right, you end up with a perfect dough.
If you have too little liquid? The starches don’t swell up enough and burst into gel, so you end up with a denser, almost brick-like baked good at the end. The same goes for not enough heat; if you don’t bring the liquids to a boil, or you let it cool too much before mixing it all together, you end up with the same brick-like item.
Conversely, if you add too much liquid, you’ll end up with something a bit more soup-like and a bit less dough-like at the end. It won’t form into dough properly, and you’ll be tempted to add more starch the way you would with a wheat bread, but without heat-activating the starch, it won’t come together properly. You might be able to save it, or you might not.
There’s one more element of science that is critical to the creation of pao de queijo. It’s something we’ve talked about before on this blog, but in the context of meat: the Maillard reaction.
The Maillard reaction is a complex bit of chemistry, involving sugars, amino acids, and heat. In culinary terms, it’s “browning”, the way that heat crisps up and browns certain foods while forming a delicious crust.
In other cheese breads, or in dips and foods topped with cheese, you can get the cheese nice and golden, with a bit of crisp chewiness and a rich flavor. That’s the Maillard reaction at work.
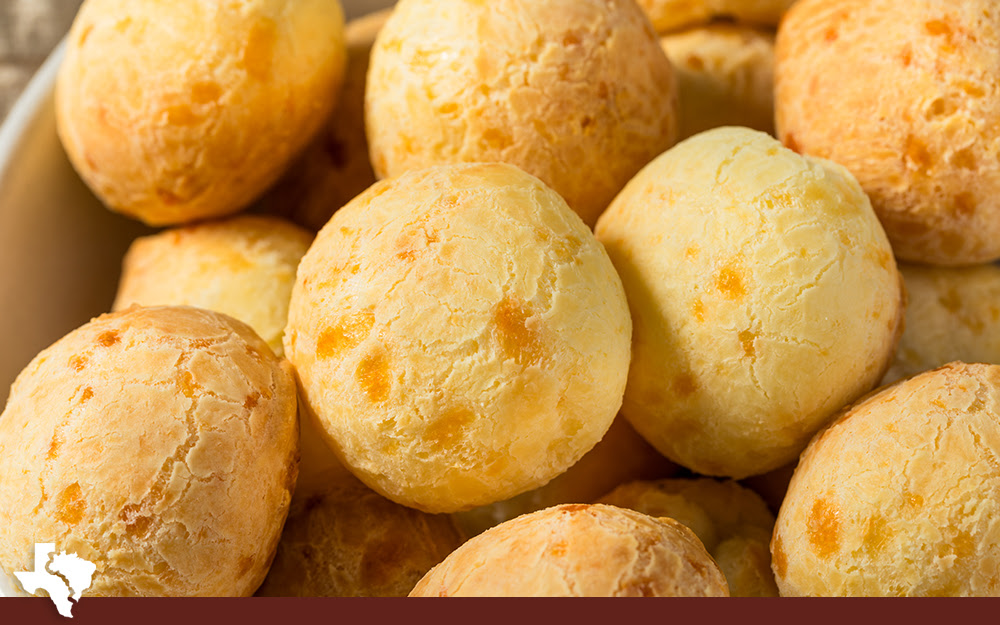
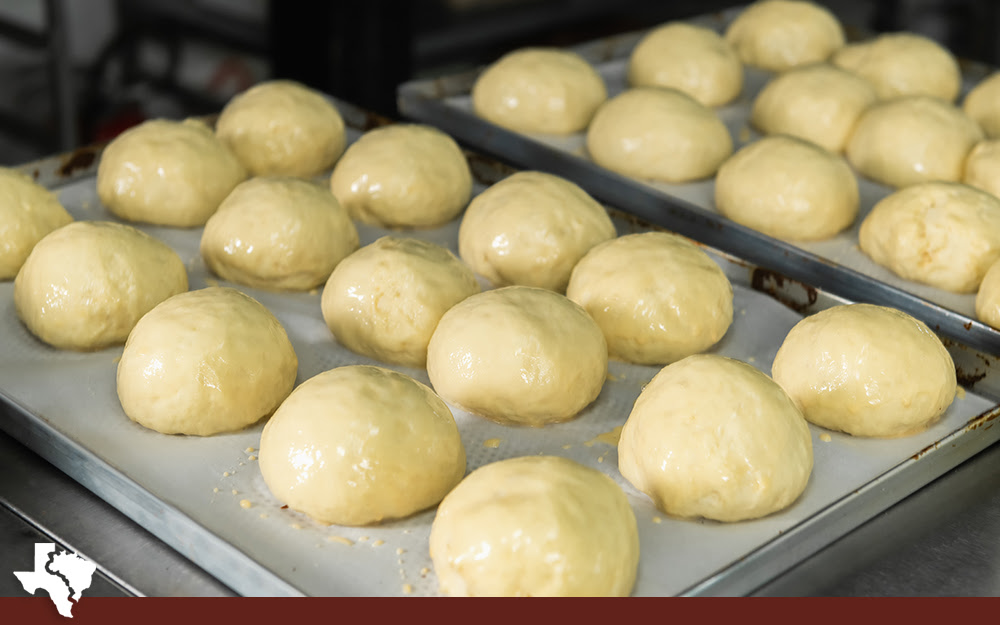
In pao de queijo, the Maillard reaction occurs all around the outside of the bread balls, crisping up the exterior and turning it golden, while elements of cheese on the surface get further browned and delicious. All the while, the interior stays soft and chewy.
Making Your Own Pão de Queijo
If you want to try your hand at making your own pao de queijo, good for you! It’s a tricky process to get right, so be forewarned.
Make sure you’re getting the right kind of tapioca/cassava flour to use, or rather, both kinds. In America, it can be pretty tricky because they aren’t always labeled properly.
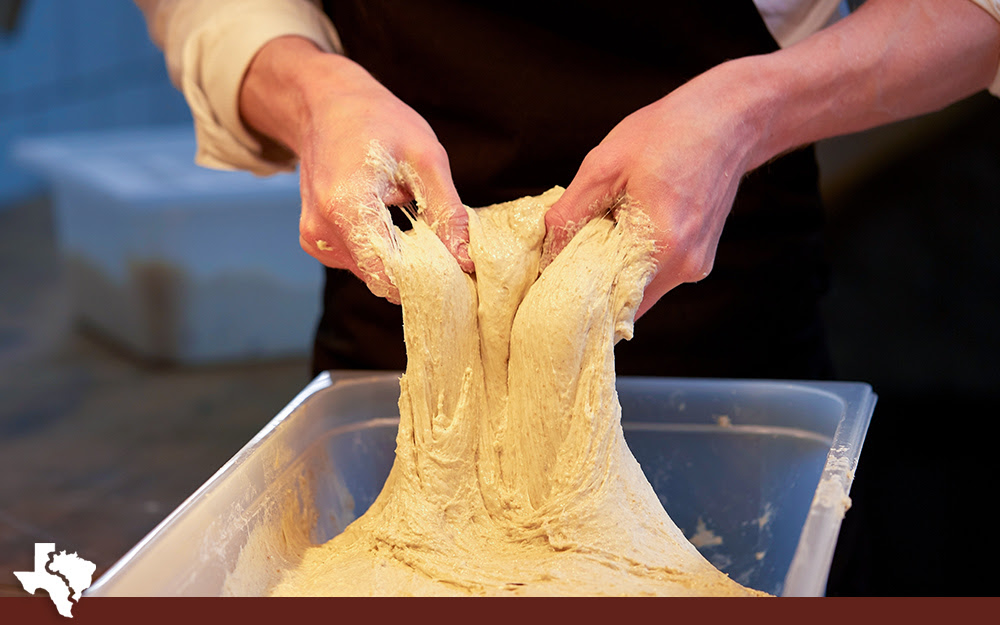
Be prepared for a mess. Before the dough fully comes together, it’s going to be extremely sticky, and that means you need to be prepared to work through the whole process at one time.
Ready? Here’s what to gather.
Tools for Baking
You don’t need a ton to make pao de queijo.

For the most part, all you’ll need is:
- A saucepan. This is for heating the liquids to a boil.
- A mixing bowl. You’ll do your mixing in here; unlike wheat breads, you don’t need a surface to knead it on! You do need a large enough bowl to easily contain the dough, though.
- Baking sheets. These dough balls aren’t going to puff up and spread during baking, so you don’t need to use anything fancy like muffin cups or anything, but you do need large enough baking sheets to hold around 30-40 of these tasty orbs.
- A spoon. A sturdy spoon will be essential for the first part of mixing, before you can get your hands into it. You can also use it at the end to help separate balls of dough.
That’s really it! Well, you do still need an oven, of course, and a kitchen scale can help if you want to use weights instead of volume measurements. We’ll provide both below.
Ingredients for Pão de Queijo
The ingredients list is also fairly simple, with the significant caveat of confusion over the starch. So, let’s talk briefly about that.
In America, since tapioca starch and cassava starch (despite being the same thing) come from different culinary cultures, they get labeled in different ways. Generally speaking, you find that:
- Tapioca Starch and Tapioca Flour are the same thing, which will be sweet cassava starch.
- Cassava Starch is the starchy and fine, while Cassava Flour uses more of the root and has a heartier but less fine texture. You can liken it to the difference between AP flour and whole wheat flour.
The goal of this recipe is to use cassava starch (not cassava flour) and, ideally, both sweet and sour varieties. If you can find actual povilho doce and pavilho azedo at a local market or online, definitely do so. Otherwise, tapioca starch, tapioca flour, and cassava starch are all fine (but cassava flour probably isn’t).
You aren’t going to ruin your recipe if you use the wrong one, but it won’t necessarily turn out as good.
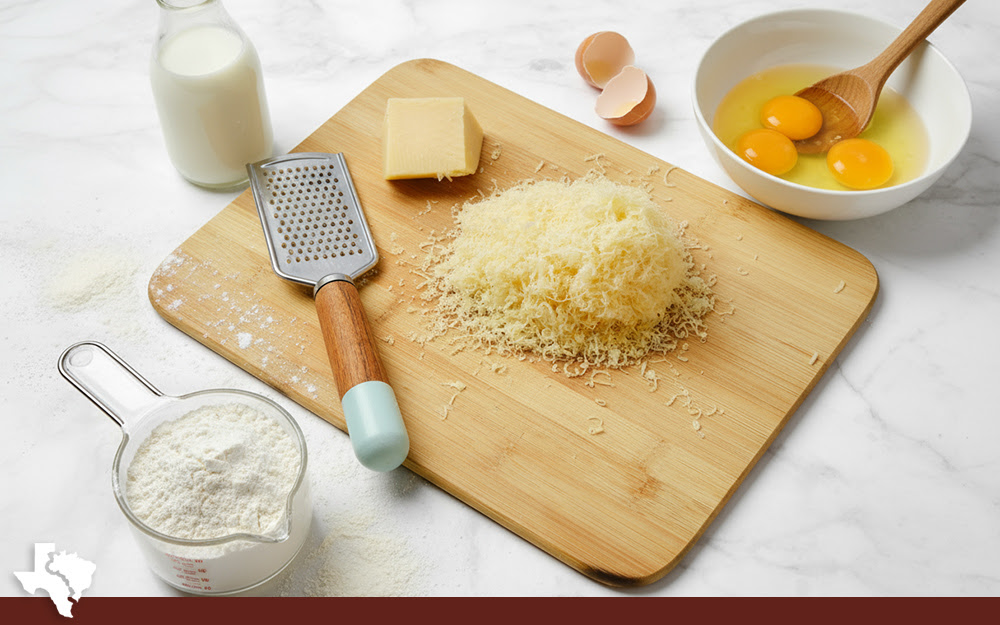
So, for the ingredients list:
- 300 grams or 10 oz of sour tapioca starch.
- 200 grams or 7 oz of sweet tapioca starch
- 250 grams or 9 oz of mozzarella (or minas cheese, if you can get it).
- 40 grams or 1.5 oz of Parmesan.
- 150 ml or 5 oz of water.
- 150 ml or 5 oz of milk.
- 150 ml or 5 oz of vegetable oil.
- 3 whole eggs.
- 1 pinch of salt.
Beyond the flour, all of this should be easy to have on hand.
Instructions for Pão de Queijo
Now, how do you make it all?
- Preheat your oven to 200 °C (about 392°F).
- Add the water, milk, and oil to your saucepan and bring it to a rolling boil.
- Mix the flours together in a bowl if using both kinds.
- Add the hot liquids to the flour and start mixing with a spoon (don’t dive in with your hands or you risk a burn).
- Once the dough has cooled enough to touch without scalding, lightly coat your hands in oil and start working it together by hand.
- When the dough has reached the “just warm” stage, add your eggs, cheeses, and salt, and keep working it all together.
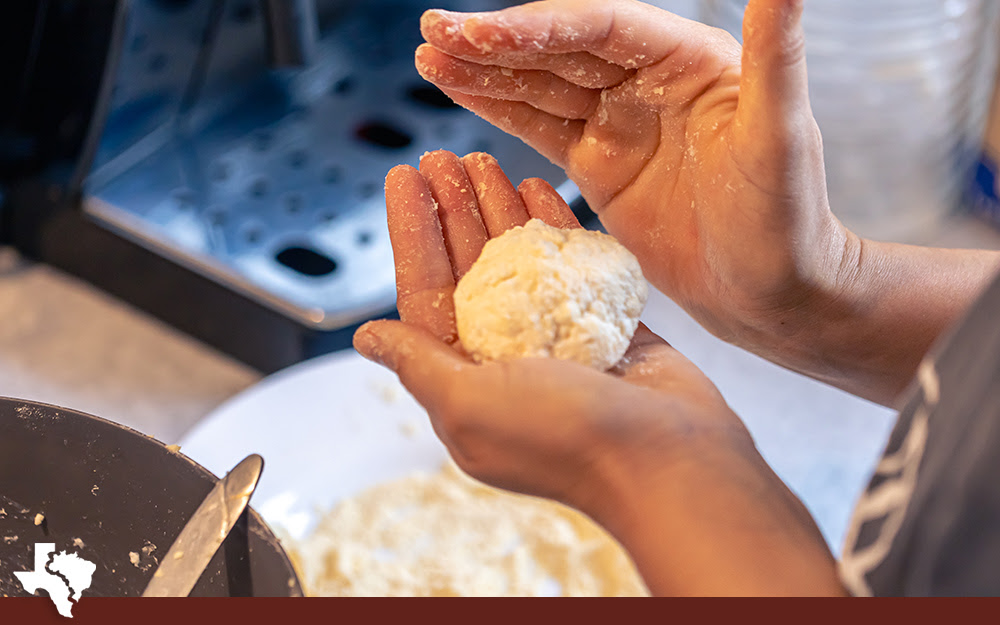
- When the dough has finally come together and isn’t sticking to your hands anymore, you can start dividing it into small (30-gram) balls and spacing them on your trays.
- Bake these for about 40 minutes, or until nicely golden but not too dark.
When they’re done, remove them from the oven and let them cool a bit before enjoying them warm.
Alternatively, just locate your closest Texas de Brazil and come in to have a taste! You can always try to make them later once you know what you’re after, and we’d love to show you what makes it truly special.